Cheeseboard Mince Pies Recipe
Introduction
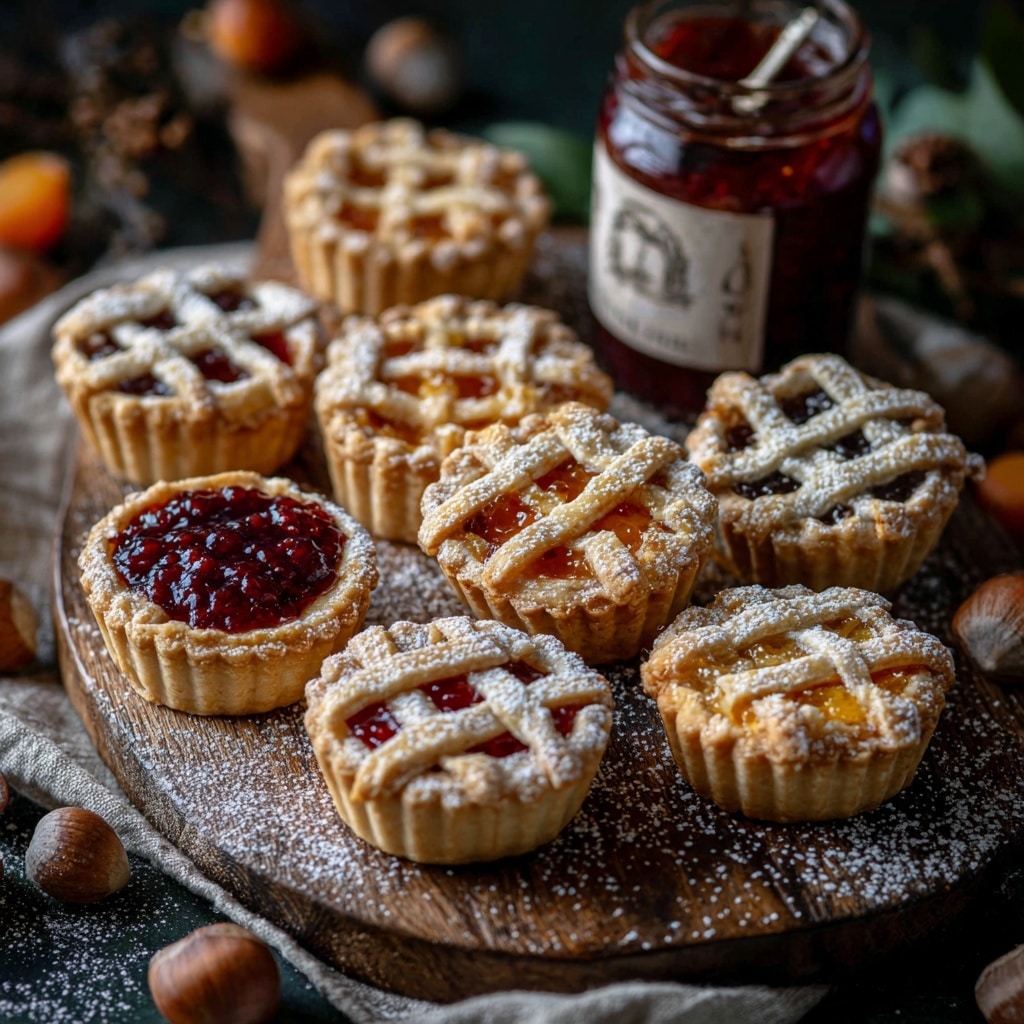
These cheeseboard mince pies offer a delightful twist on the traditional festive treat by combining rich extra-mature cheddar with classic mincemeat filling. Perfect warm alongside a cheeseboard, they bring a wonderful sweet and savory balance to any holiday gathering.
Ingredients
- 175g salted butter
- 300g plain flour, plus extra for dusting
- 1 tbsp cornflour
- 2 tbsp granulated sugar, plus a little extra for sprinkling
- 50g extra-mature cheddar
- 125ml cold whole milk
- 300g mincemeat (vegetarian if needed)
- 1 small cooking apple (about 150g), chopped into small cubes
- 2 tbsp Pedro Ximénez sherry, brandy, or dark rum
- 1 egg, beaten
Instructions
- Step 1: Put the butter in the freezer for at least 1 hour before starting. In a large bowl, combine the flour, cornflour, sugar, and ¼ tsp fine salt.
- Step 2: Holding the frozen butter in its wrapper or baking parchment, grate it directly into the flour mixture using the coarse side of a box grater. Occasionally stir the butter into the flour with a knife to prevent clumping. Once all the butter is incorporated, grate in the cheddar and gently mix again.
- Step 3: Pour in the cold milk and stir with the knife until large clumps form. Tip the mixture onto a lightly floured surface and knead gently until it just comes together into a smooth dough. Avoid overworking; visible butter streaks help create a flaky texture. Shape into a disc, wrap in parchment, and chill for 1 hour.
- Step 4: In a bowl, combine the mincemeat, chopped apple, and sherry. Add a twist of black pepper if desired to enhance the sweet-savoury contrast.
- Step 5: Remove the pastry from the fridge. If very firm, let it sit at room temperature for 5–10 minutes. Line a baking tray with parchment. Halve the dough and roll one half out on a floured surface to about the thickness of a 50p coin. Use an 8cm biscuit cutter to cut 12 circles, re-rolling scraps as needed. Arrange on the tray.
- Step 6: Brush the edges of each pastry round with beaten egg, then spoon 1 tablespoon of the mincemeat mixture into the center of each.
- Step 7: Roll out the remaining dough and cut 12 more circles. Use a small star cutter to remove a star shape from the center of each; these will be the lids. Place a lid on each pie and press the edges to seal. Optionally, use a fluted 8cm cutter to neaten the shape and seal edges. Place the star-shaped offcuts on the tray.
- Step 8: Brush the tops of pies and stars with beaten egg and sprinkle lightly with sugar. Chill the pies for at least 30 minutes or up to a day. They can also be frozen for up to two months.
- Step 9: Preheat the oven to 200°C (180°C fan) / gas mark 6. Bake the pies for 15 minutes or 20 minutes if frozen, until golden and crisp.
- Step 10: Serve warm alongside your cheeseboard for a festive and flavorful treat.
Tips & Variations
- For a vegetarian version, ensure your mincemeat contains no suet.
- Adding a pinch of black pepper to the mincemeat mixture enhances the sweet and savory flavor contrast.
- Use different types of cheese, such as a sharper cheddar or even Stilton, for a unique twist.
- Freeze unbaked pies on the tray, then transfer to a bag; bake from frozen for a convenient holiday treat.
Storage
Store any leftover mince pies in an airtight container in the refrigerator for up to 3 days. To reheat, warm gently in a preheated oven at 160°C (140°C fan) for about 10 minutes to restore crispness. These pies freeze well; keep them frozen for up to two months and bake directly from frozen as per the instructions.
How to Serve
Serve this delicious recipe with your favorite sides.
FAQs
Can I use a different type of alcohol or omit it?
Yes, you can substitute Pedro Ximénez sherry with brandy or dark rum as listed, or omit it entirely if preferred. The alcohol adds depth of flavor but is not essential.
Why is the butter grated and kept frozen?
Grating frozen butter ensures it is distributed in small chunks throughout the dough, creating a flaky, tender pastry texture when baked. Keeping it cold prevents it from melting into the flour.